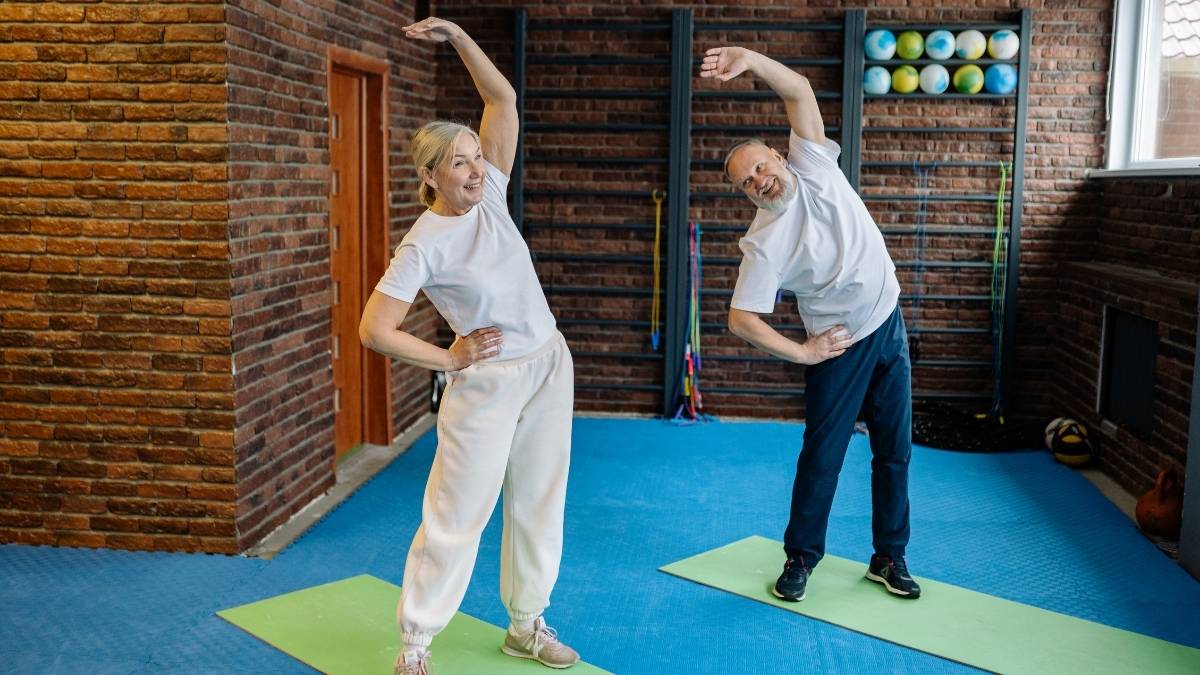
Forget Standing on One Leg. Try These 3 ‘Dynamic’ Balance Drills for Real-World Stability
You’ve probably been told to stand on one leg to improve your balance. But when was the last time you fell while standing perfectly still? Never, right?
Most falls happen when you’re moving. You trip over your pet while carrying groceries. Someone bumps you on a busy sidewalk. You turn your head while walking and suddenly feel unsteady.
Static balance exercises don’t prepare you for these moments. They train you to stand still, not to move safely through your day.
Practice them three times a week, and you’ll feel more stable in just a few weeks.
Dynamic Control
Why Standing on One Leg Won’t Save You From a Fall
Here’s a fact that might surprise you. One in four older adults falls each year in the US. That’s 14 million people. In 2023, falls killed people at a rate of 69.9 per 100,000 adults over 65.
These falls don’t happen during yoga class. They happen during normal life. You’re walking and your head turns to check traffic. You’re reaching for something while standing on your toes. You step off a curb wrong.
Static balance training teaches your body to freeze in place. But real life demands constant adjustment. Your center of gravity shifts hundreds of times per day. When someone bumps you, your body has milliseconds to react. Standing on one leg doesn’t train that response.
Your balance system uses three parts: your eyes, your inner ear, and sensors in your muscles. Static exercises only wake up one or two of these systems. Dynamic balance training activates all three at once, just like real life does.
The Science Behind Dynamic Balance (What Makes It Different)
Your body maintains balance through three systems working together. Your eyes track where you are in space. Your inner ear (vestibular system) feels head movement and position. Sensors in your feet and joints (proprioception) detect ground texture and body position.
Static balance keeps your center of mass in one spot. Dynamic balance adapts to a constantly shifting center of gravity. That’s the difference between standing still and actually moving through life.
Research shows balance training can make your body act 10 years younger. One study found it reduces wobbly movements by 30% in older adults. Your reaction time gets faster. Your coordination improves.
Here’s why this matters. When you turn your head while walking, your inner ear signals the movement instantly. Your eyes adjust to keep vision steady. Your feet make tiny corrections you don’t even notice. This happens in milliseconds. Dynamic exercises train this exact sequence. Static exercises don’t.
The 3 Dynamic Balance Drills You Need to Practice
Static holds won’t cut it anymore. These three exercises make you move while staying stable. That’s exactly how your body needs to work when you’re out in the world. Each drill trains a different part of your balance system.
Drill #1: Walking With Head Turns (Train Your Vestibular System)
Start walking at a normal pace in your hallway. Stay close to a wall at first. As you walk forward, turn your head to look left. Then turn to look right. Keep walking the whole time.
Your eyes should focus on objects as you turn. Don’t just swing your head mindlessly. Actually look at a picture frame, then turn and look at a doorway. This trains your brain to process vision and movement together.
Common mistakes: Turning too fast. Stopping your feet when you turn your head. Staring at the floor.
Start with slow, controlled turns. After a week, speed up the rhythm. Once that feels easy, try faster walking speeds. The goal is smooth head movement while your feet keep moving forward.
This drill helps when you need to check traffic while crossing a street. Or when you’re looking for someone in a crowd. Your vestibular system learns to keep you steady even when your head moves.
Drill #2: Lateral Weight Shifts With Reach (Master Sideways Stability)
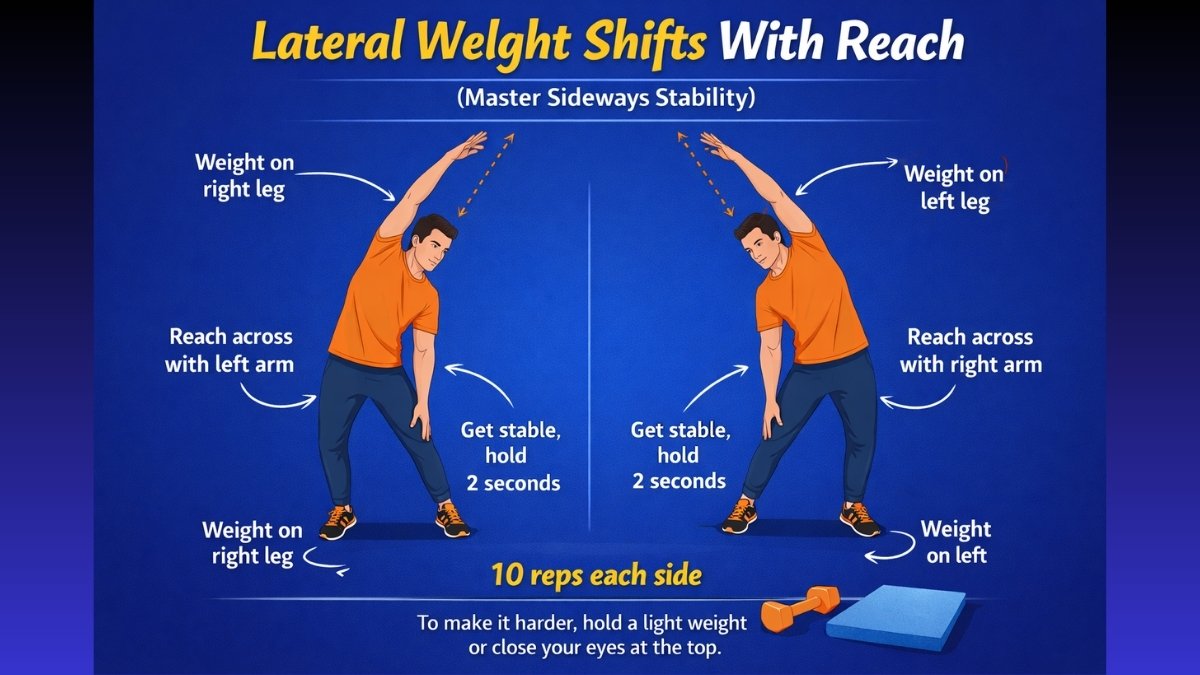
Stand with your feet hip-width apart. Shift your weight onto your right leg. At the same time, lift your left arm up and reach diagonally across your body. Imagine grabbing something from a high shelf on your right side.
Hold that position for two seconds. Feel your right hip and oblique muscles working. Then control your movement back to center. Don’t just drop back down. Move with purpose.
Switch sides. Weight on left leg, right arm reaches up and across. Do 10 reps on each side.
This copies real life perfectly. You reach for dishes in high cabinets. You lean to open your car door. You bend sideways to pick things up. All of these require sideways stability.
To make it harder, hold a light weight (2-5 pounds). Or close your eyes for two seconds at the top of each reach. The most advanced version uses a foam pad under your feet.
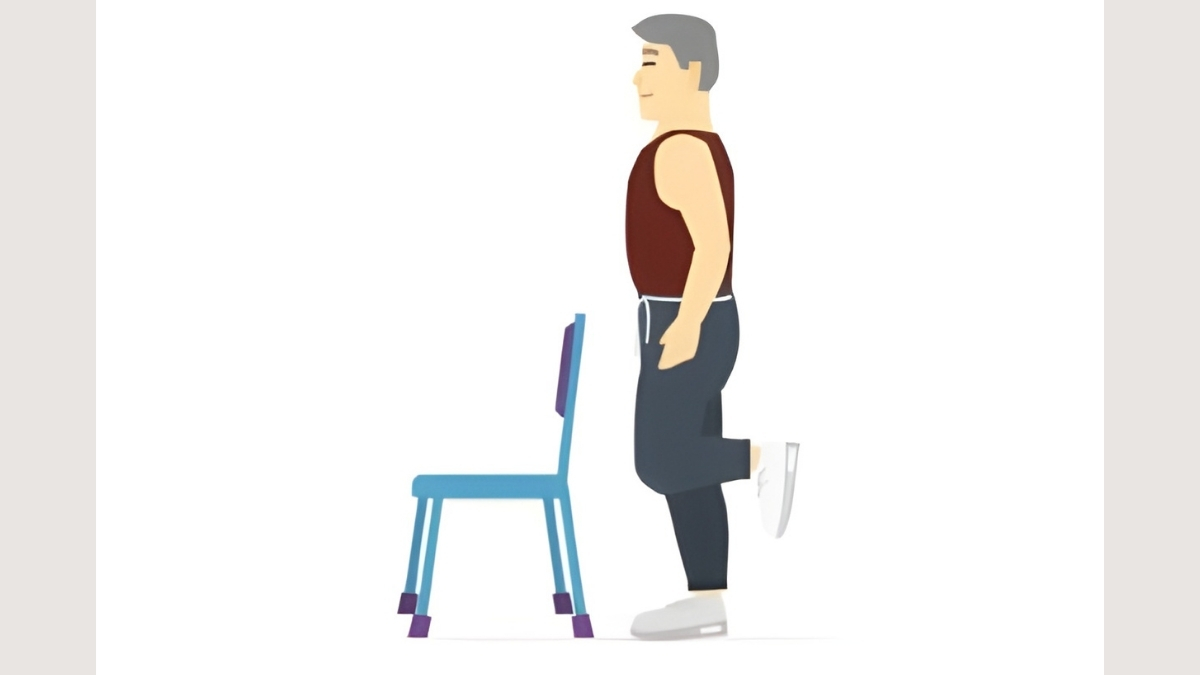
Drill #3: Step-Ups With Direction Changes (Simulate Stair Climbing + Turning)
Get a low step, about 4-6 inches high. A sturdy box or the bottom stair works great. Step up with your right foot. Bring your left foot up to meet it. Now turn your body 90 degrees to the right while standing on the step.
Step down facing this new direction. Your left foot comes down first, then your right. That’s one rep.
Next time, lead with your left foot and turn left at the top. Keep switching which leg leads and which direction you turn.
This drill is powerful because it combines everything. You’re changing height. You’re transferring weight. You’re rotating. You’re moving in multiple directions. Most falls involve at least two of these elements.
Start with a lower step if you need to. Use a wall or railing for light support. Master regular step-ups before you add the turns. There’s no shame in building slowly.
How to Incorporate These Drills Into Your Routine
Do these exercises three to four times per week. More than that won’t speed up your progress. Your nervous system needs rest days to adapt.
Here’s your workout: Warm up for five minutes. March in place or walk around your house. Then do all three drills in order. Perform two sets of each exercise. Rest for 30 seconds between sets. The whole routine takes 15-20 minutes.
Weeks 1-2: Practice near a wall. Focus on correct form. Take it slow.
Weeks 3-4: Move away from the wall. Increase your speed slightly. Add one more rep to each set.
Weeks 5-8: Try the harder versions. Add light weights. Use a foam pad. Close your eyes for brief moments.
Track your progress monthly. Time how long you can stand on one leg. Count how many chair stands you can do in 30 seconds. These numbers should improve steadily.
How to Measure Your Progress (And Know the Training Is Working)
You’re putting in the work. But how do you know if it’s actually helping? You need real numbers and clear signs. Here’s how to track your progress and spot improvements before you even realize they’re happening.
Simple Tests You Can Do at Home
Test yourself once a month. Write down your scores. Watch them improve over time.
Single-leg stand:
Time how long you can balance on each leg with eyes open. Aim for 30 seconds if you’re over 50. Can’t hit that yet? That’s fine. Just track your starting point and watch it grow.
Chair stands:
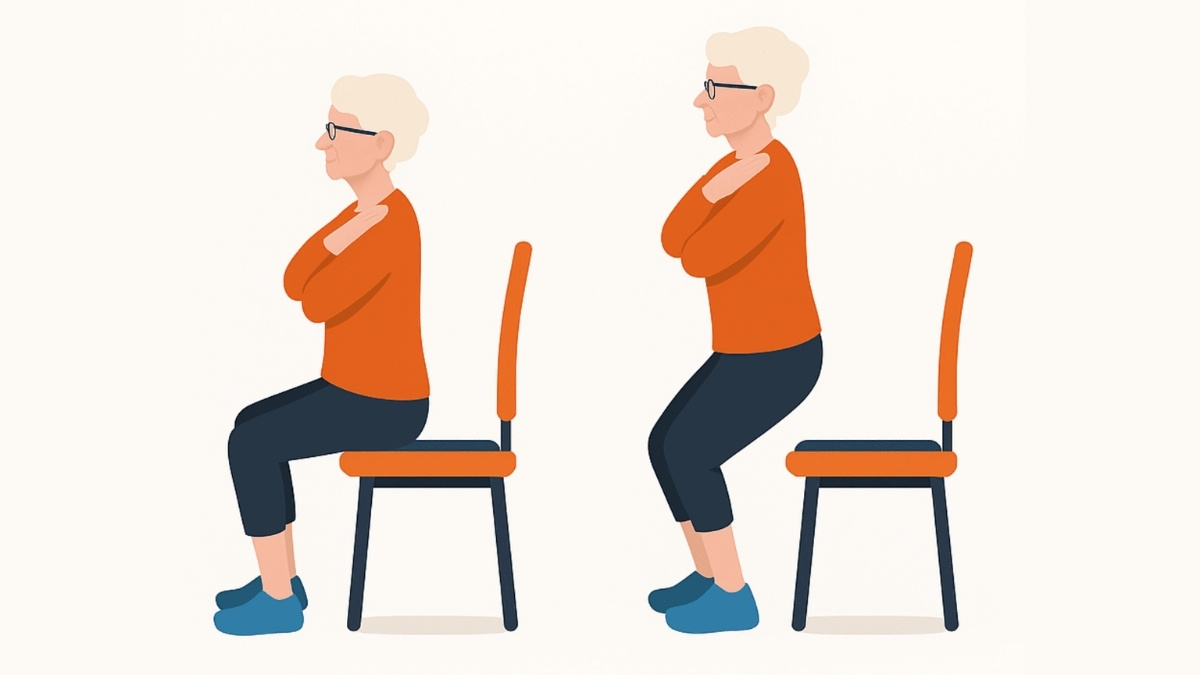
Set a timer for 30 seconds. Count how many times you can stand up from a chair and sit back down. Twelve or more is good for older adults. This tests leg strength and balance together.
Walking speed:
Mark off 4 meters (about 13 feet) in your hallway. Walk at your normal pace. Time it. Faster than four seconds means better fall prevention. Slower doesn’t mean you’re doomed. It means you have room to improve.
Final Words,
Static balance exercises teach you to stand still. Dynamic balance training teaches you to move safely. That’s what actually prevents falls.
These three drills train your body during movement. Start with one drill today. Practice near a wall. Commit to 15 minutes three times this week.
Your future self will feel steadier, stronger, and more confident with every step.