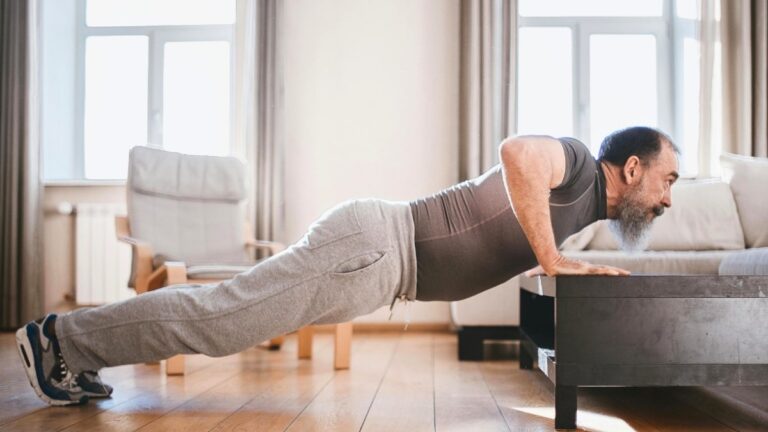
The Bone-Strengthening Yoga Poses Every Woman Over 50 Should Practice

If you’re a woman over 50, your bones are quietly losing density—but a simple 12-minute daily yoga routine could reverse this process.
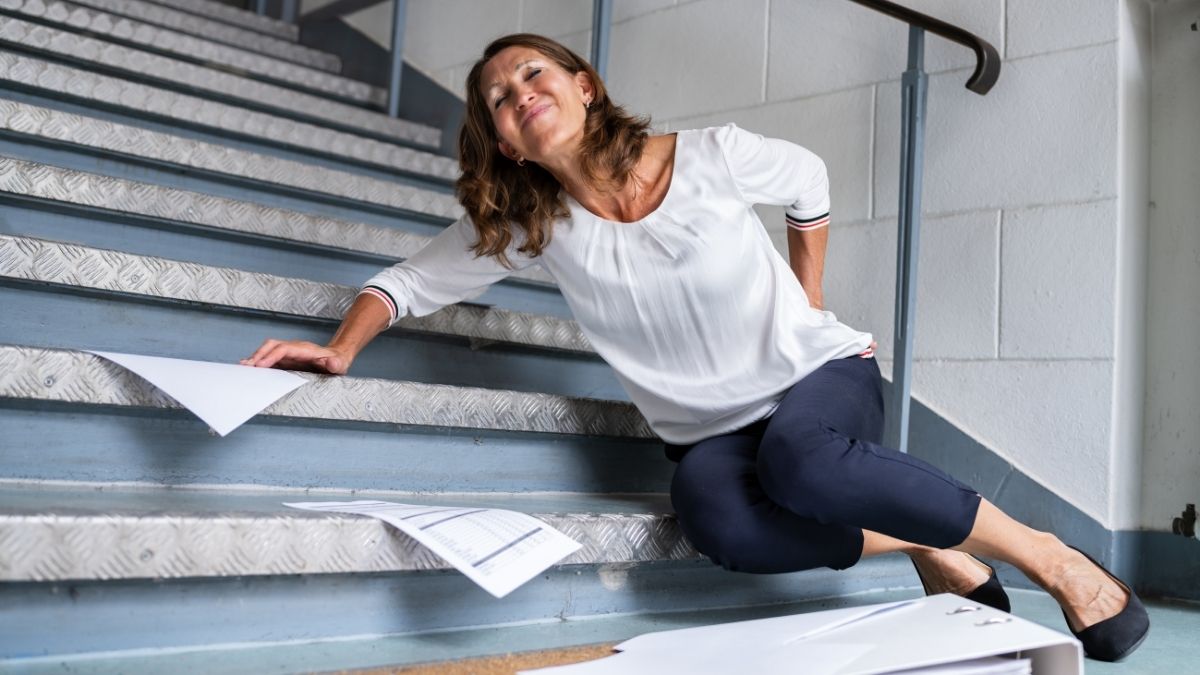
Here’s what you’re facing. After menopause, your estrogen levels drop. Estrogen protects your bones. Without it, your skeleton weakens faster than your body can rebuild it. The statistics are scary: one in two women over 50 will break a bone because of osteoporosis. That’s a coin flip with your independence.
Most women don’t know their bones are fragile until they fracture. You might bend down to tie your shoe and crack a vertebra. Or trip on the sidewalk and shatter a hip. By then, the damage is done.
You’re probably worried about high-impact exercise that could hurt you. Maybe you’ve looked into medications but don’t love the side effects or cost. You want something safe, affordable, and proven to work.
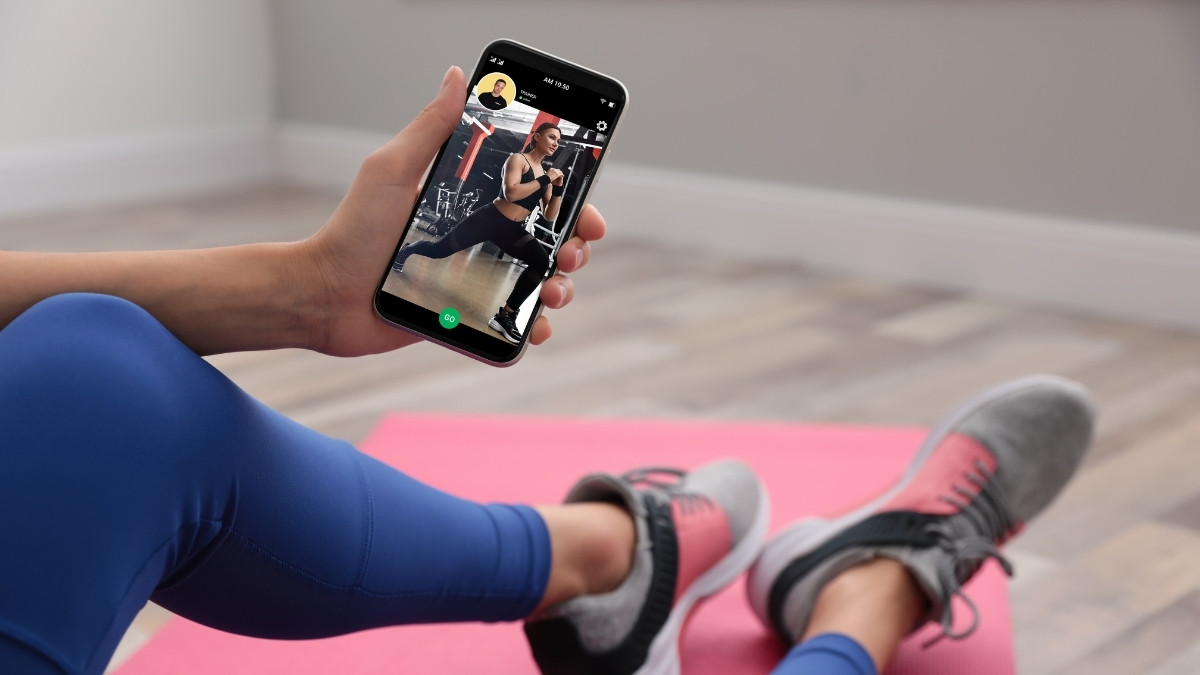
That’s exactly what you’ll find here. This article shows you specific bone-strengthening yoga poses that increase bone mineral density in women over 50. You’ll learn a 12-minute routine backed by 10 years of research on 741 people. We’ll cover which poses build bones and which ones you must avoid to prevent fractures.
You’ll also learn how quickly you can expect results with osteoporosis prevention through yoga. And the best part? You can start today, right in your living room, with zero equipment.
Women 50+: Why 12-Minute Yoga Protects Your Bones
Estrogen drops → bone breakdown speeds up for 5–7 years. 1 in 2 women over 50 will suffer a fracture.
Osteoporosis has no symptoms. Most women learn they have it only after a spine, wrist, or hip fracture.
Walking strengthens legs, not the spine or upper body. Bones need multi-directional resistance.
10-year study on 741 people: targeted yoga poses stimulate bone growth safely and effectively.
A short routine done consistently is enough to strengthen hips, spine & wrists—no equipment required.
Understanding Bone Loss in Women Over 50
Inside your bones right now, a quiet process is weakening your skeleton. And you probably can’t feel it happening.
Here’s the reality: 19.6% of women over 50 have osteoporosis. That’s nearly one in five. By age 65, that number jumps to 27.1%. And if you’re over 70? Your odds climb to 68.5%. Of the 10 million Americans living with this condition, 8 million are women.

Why menopause changes everything. When your periods stop, your estrogen levels drop. Estrogen protects your bones. Without it, your body breaks down bone faster than it can rebuild it. This isn’t a slow decline—it accelerates rapidly in the first five to seven years after menopause.
Your spine, hips, and wrists are the most vulnerable spots. These are the places where fractures happen most often. A broken hip isn’t just painful—it can change your independence overnight.
The scary part? Osteoporosis has no symptoms. You won’t feel your bones weakening. Most women only discover they have it after a fracture. That’s why doctors call it a “silent disease.”
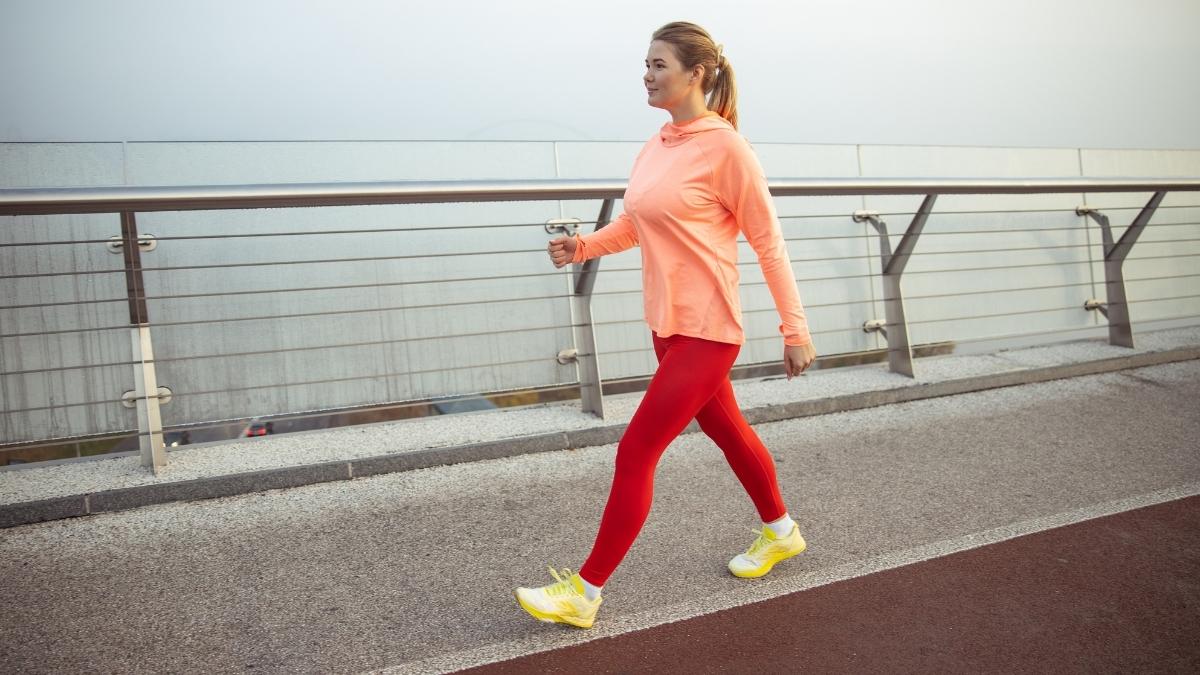
Why your daily walk isn’t enough. Walking helps, but it mainly strengthens your legs. Your spine and upper body need different types of pressure to build bone. You need exercises that create resistance from multiple angles. That’s where yoga comes in—it applies force to bones in ways that walking simply can’t match.
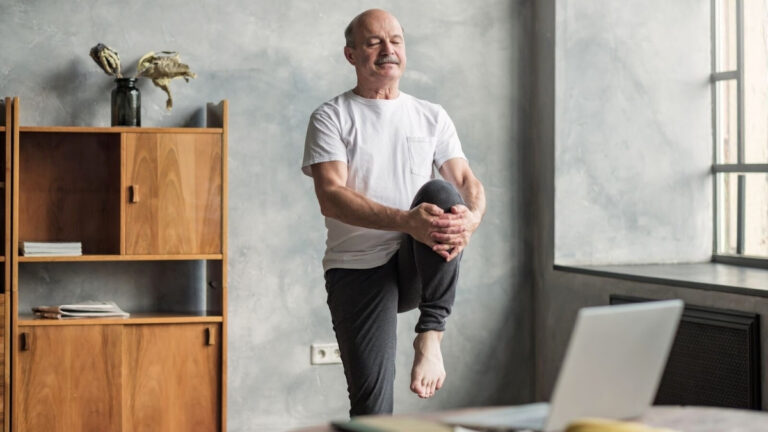
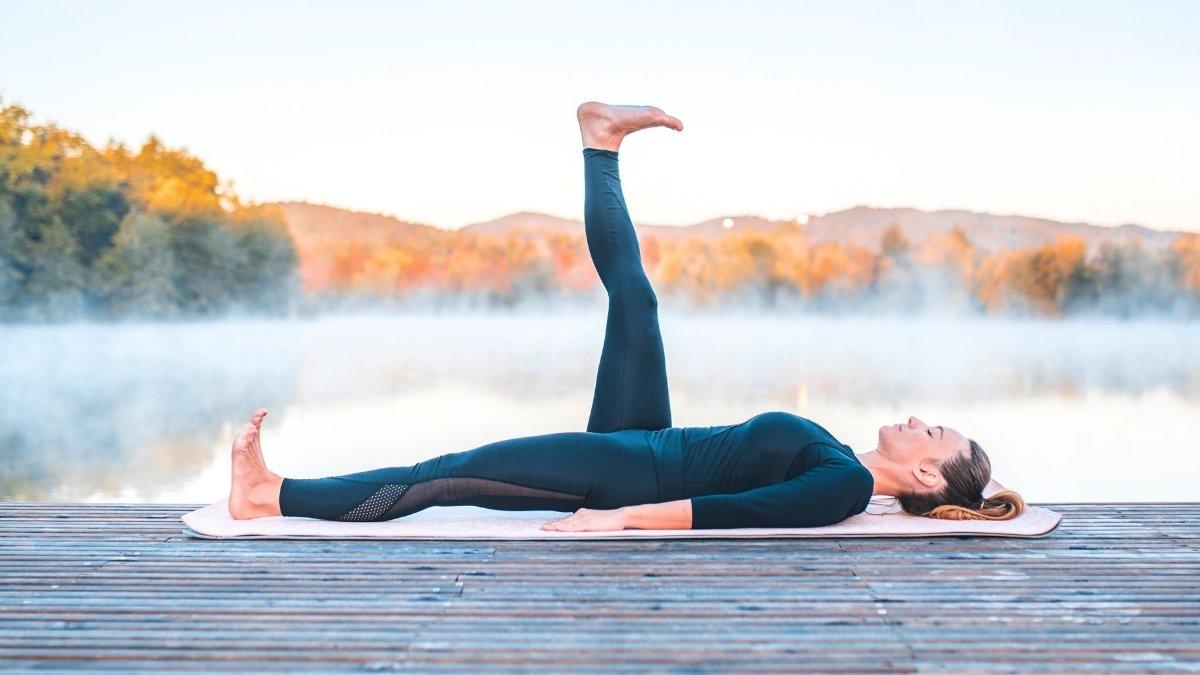
12 Essential Bone-Strengthening Yoga Poses
These 12 poses form the exact sequence that reversed bone loss in Dr. Fishman’s 10-year study. Hold each pose for 30 seconds. That’s all it takes to start building new bone.
1. Tree Pose (Vrksasana)
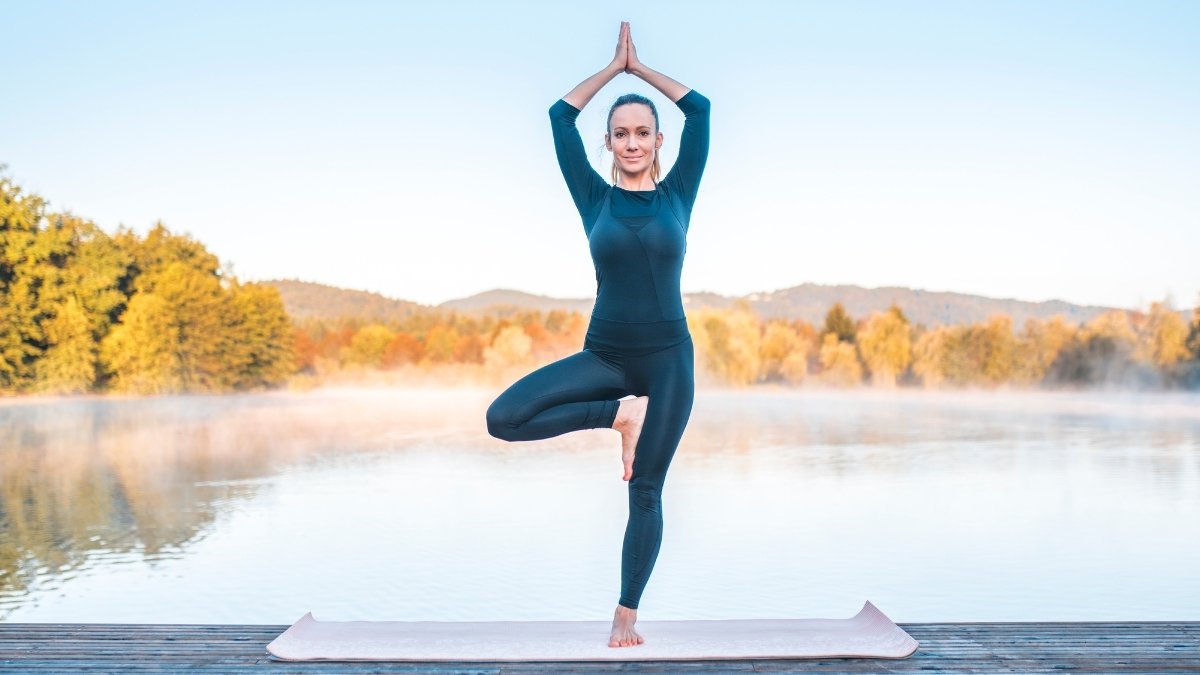
Strengthens: Your thigh bone (femur), hip joint, and lower spine.
This balance pose increases pressure on your hip by 60%. That force tells your body to make new bone cells.
How to do it: Stand tall. Shift your weight to your left foot. Place your right foot on your left inner thigh or calf (never on the knee). Press your hands together at your chest. Hold for 30 seconds. Switch sides.
Beginner modification: Stand near a wall. Touch it lightly with your fingertips when you feel wobbly. Or place your foot lower on your ankle instead of your thigh.
Safety tip: Keep your standing knee slightly soft, not locked. If you have balance issues, keep one hand on a chair.
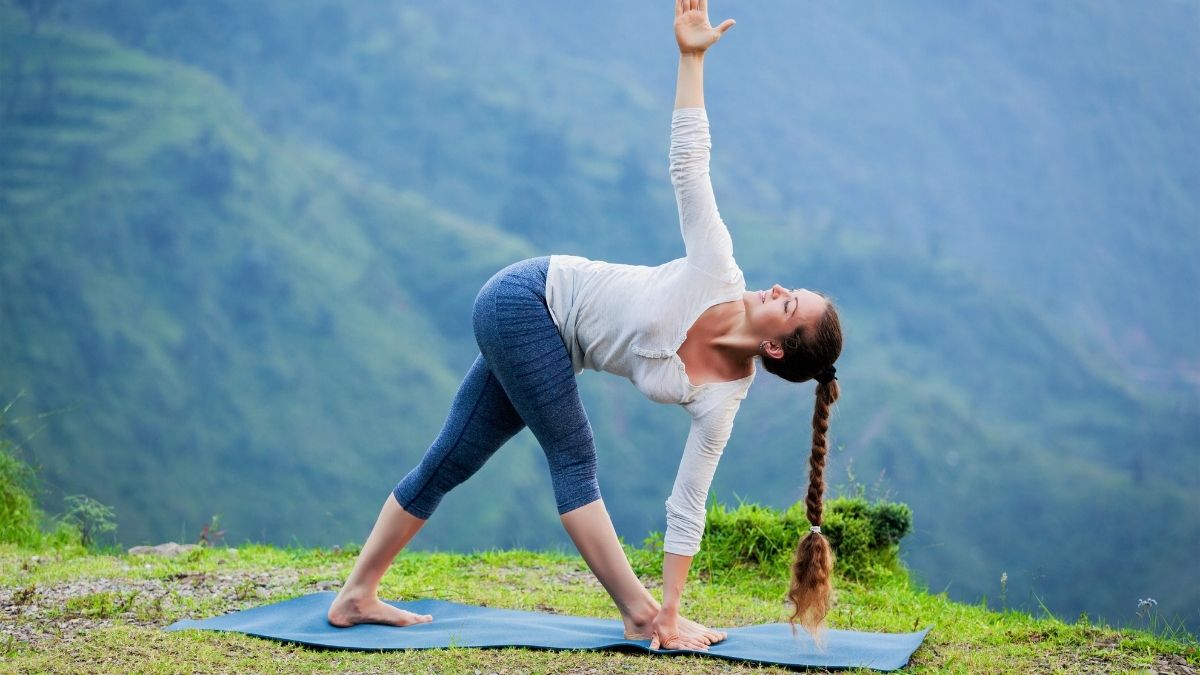
2. Triangle Pose (Trikonasana)
Strengthens: Your lower back, thigh bone, hips, and ribs.
This pose creates a twisting force on your spine and hip. That pressure wakes up the bone-building cells.
How to do it: Stand with feet 3-4 feet apart. Turn your right foot out 90 degrees. Reach your right arm down toward your shin, ankle, or the floor. Extend your left arm straight up. Look up at your left hand. Hold 30 seconds. Switch sides.
Beginner modification: Place your lower hand on a chair instead of reaching for the floor. This gives you more stability and control.
Safety tip: Don’t round your back to reach lower. Keep your spine long. It’s better to stay higher with good form than go lower with a curved back.
3. Warrior II (Virabhadrasana II)
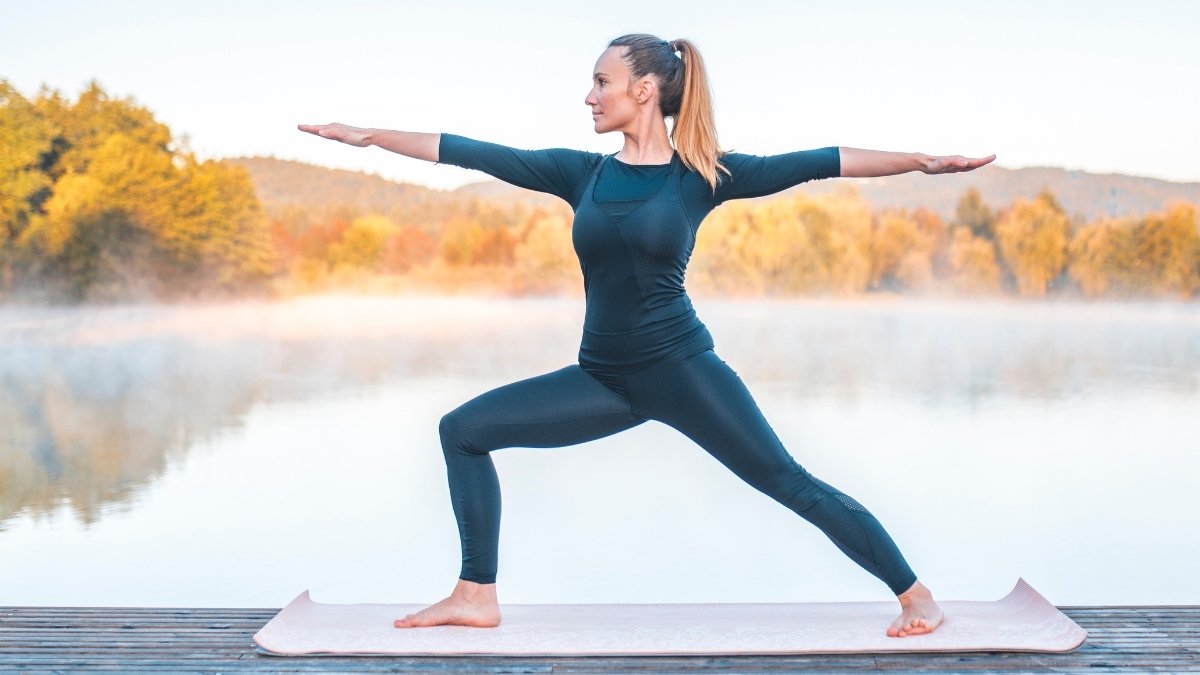
Strengthens: Your entire thigh bone, hip joint, thighs, and arms.
Your bent front leg creates huge pressure on your femur. Your straight back leg rotates your hip in a way that builds bone density.
How to do it: Stand with feet 3-4 feet apart. Turn your right foot out 90 degrees. Bend your right knee over your ankle. Keep your left leg straight. Extend both arms out to the sides at shoulder height. Look over your right hand. Hold 30 seconds. Switch sides.
Beginner modification: Take a shorter stance if the wide position feels unstable. You can also place your back heel against a wall for support.
Safety tip: Make sure your front knee tracks over your second toe, not inward. Keep your back foot grounded flat on the floor.
4. Side Angle Pose (Parsvakonasana)
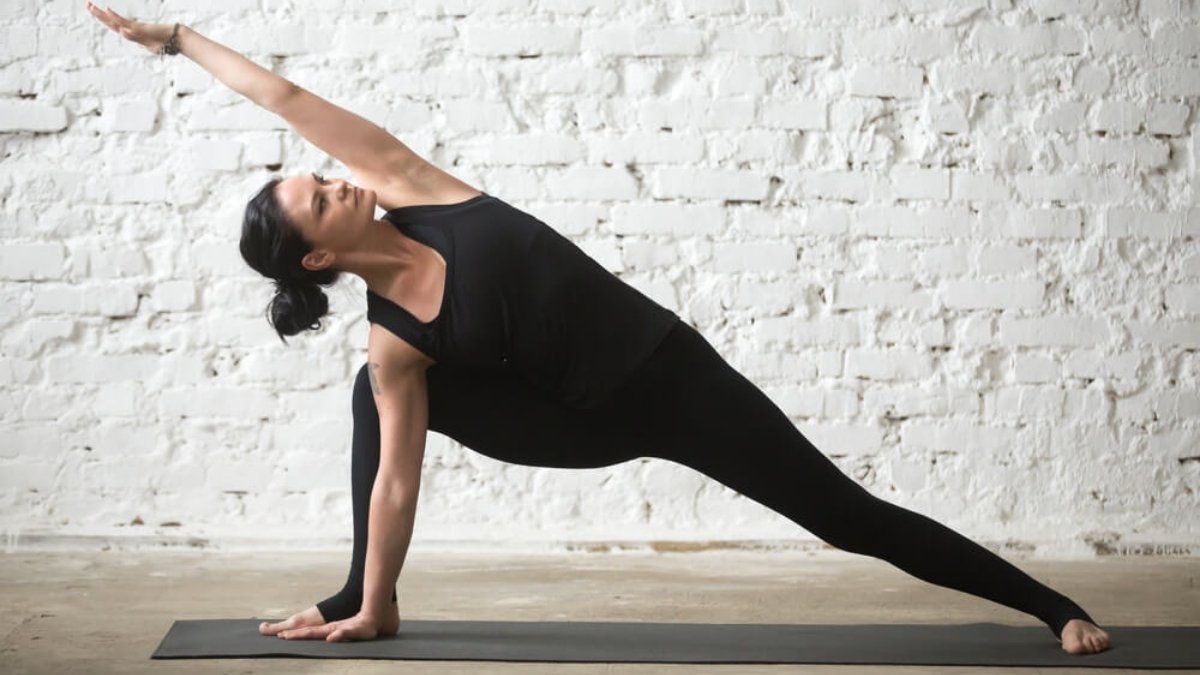
Strengthens: Your lower back, thigh bone, and hip joint.
This pose twists your lower back and the top of your femur. That twisting force stimulates your hip’s bone-making cells.
How to do it: Start in Warrior II. Lower your right forearm to your right thigh. Reach your left arm over your head, creating a diagonal line from your left foot to your left hand. Hold 30 seconds. Switch sides.
Beginner modification: Keep your hand on your thigh instead of reaching to the floor. Or place your hand on a block outside your front foot.
Safety tip: Don’t collapse onto your front leg. Keep lifting through your waist and pressing your back leg straight.
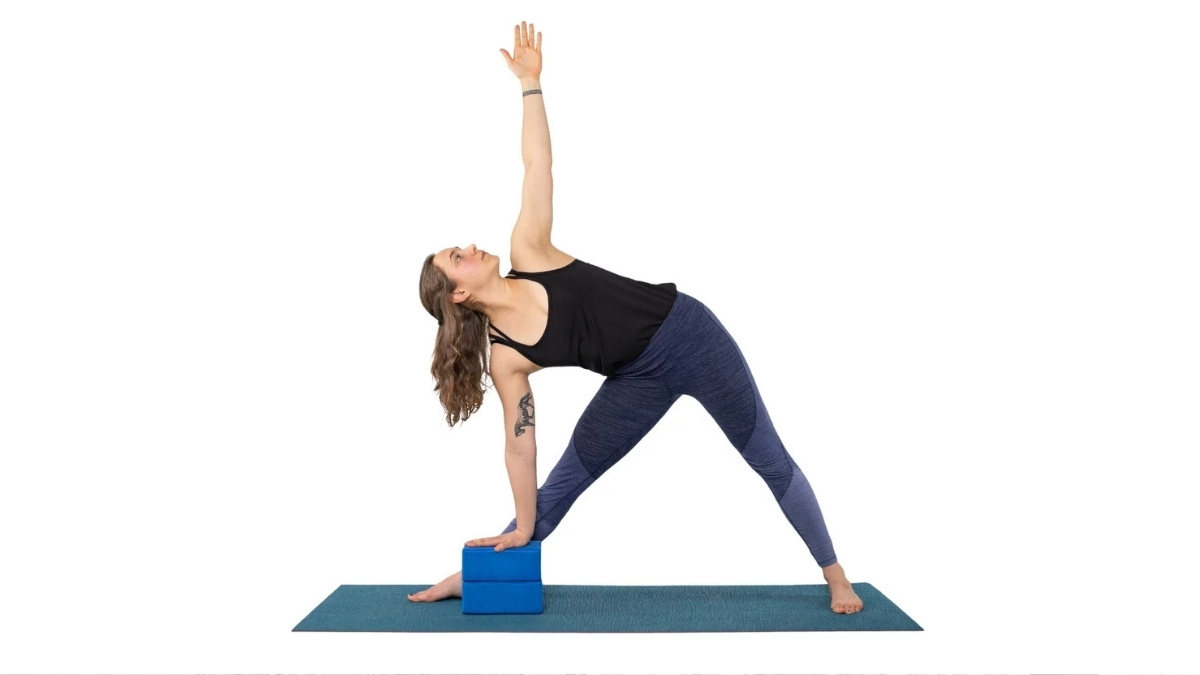
5. Twisted Triangle (Parivrtta Trikonasana)
Strengthens: Upper thigh bones, hip joint, lower back, ribs, and wrists.
This creates strong pressure in your femurs and hip. Your lower back and ribs also get the bone-building twist they need.
How to do it: Stand with feet 3 feet apart. Turn your right foot out. Place your left hand on the outside of your right foot or on a block. Twist your torso to the right. Extend your right arm up. Look up. Hold 30 seconds. Switch sides.
Beginner modification: Use a block or chair under your lower hand. Keep your back heel lifted if your hamstrings are tight.
Safety tip: This is an advanced pose. If you feel unstable or your back rounds, stick with regular Triangle Pose instead.
6. Locust Pose (Salabhasana)
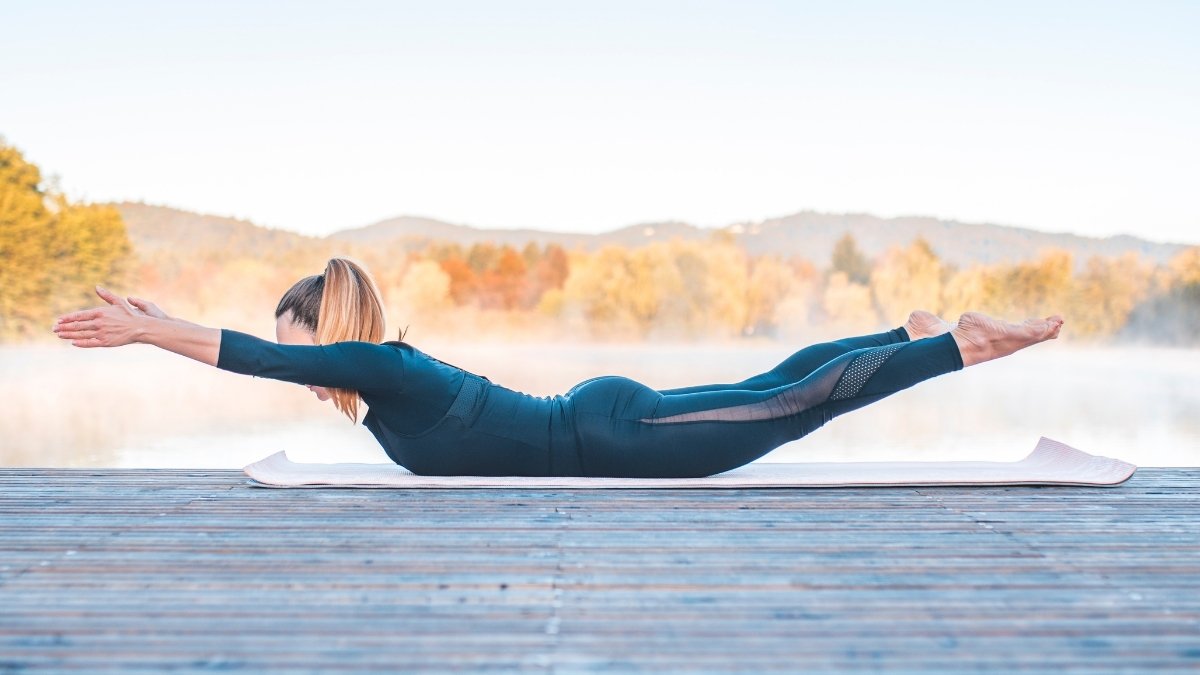
Strengthens: The back of your spine and all your back muscles.
Lifting against gravity creates pressure on the back part of your spine. This builds bone where you need it most.
How to do it: Lie face-down. Rest your forehead on the mat. Place your arms alongside your body, palms up. Lift your head, chest, arms, and legs off the floor. Hold 30 seconds.
Beginner modification: Lift just your upper body first. Keep your legs on the floor. Or lift just your legs and keep your chest down. Build up to lifting everything together.
Safety tip: Don’t crane your neck back. Keep the back of your neck long. Lift from your upper back, not just your head.
7. Bridge Pose (Setu Bandhasana)
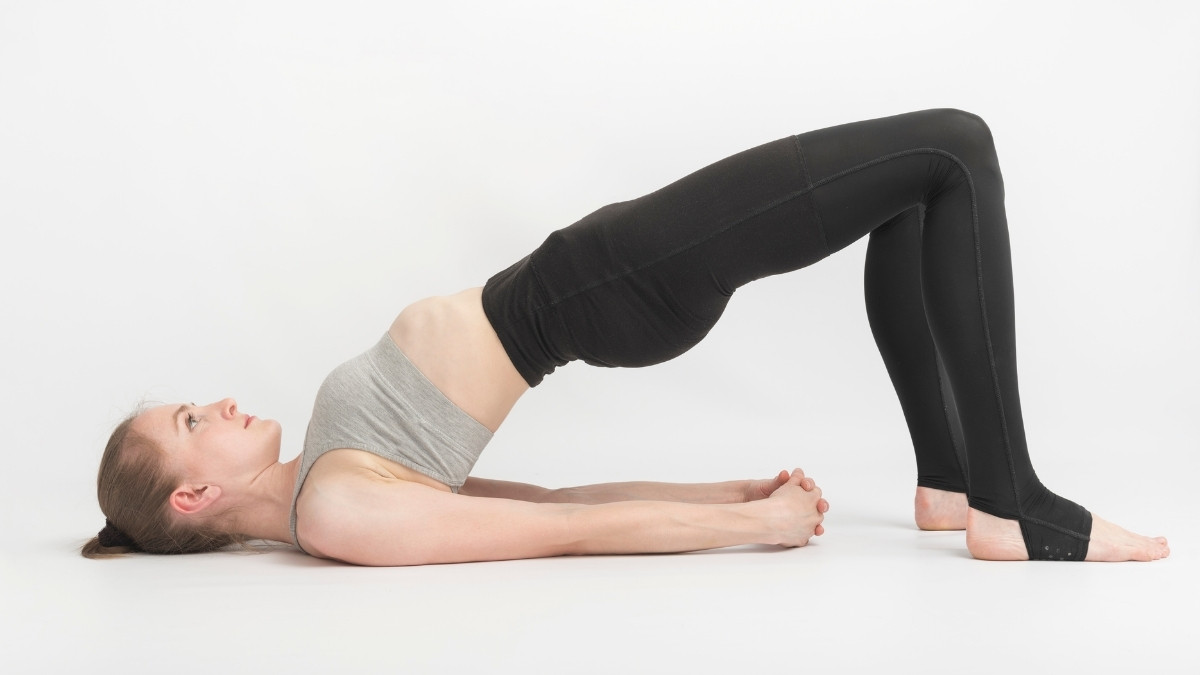
Strengthens: Your ribs and lower spine.
This pose presses your ribs and spine against the resistance of your body weight. That’s exactly the pressure needed for bone growth.
How to do it: Lie on your back. Bend your knees and place your feet hip-width apart, close to your hips. Press into your feet and lift your hips up. Keep your arms on the floor or clasp your hands under your back. Hold 30 seconds.
Beginner modification: Place a block under your sacrum (the flat bone at the base of your spine) for support. This makes it a restorative pose you can hold longer.
Safety tip: Keep your knees parallel. Don’t let them splay out or knock in. Your knees should track straight over your ankles.
8. Reclining Hand to Big Toe I (Supta Padangusthasana I)
Strengthens: Your thigh bone, hip joint, pelvis, and spine.
This stretch creates length and tension in your leg bones and hip. The pulling force builds bone density.
How to do it: Lie on your back. Loop a strap around your right foot. Straighten your right leg up. Keep your left leg straight on the floor. Hold the strap and keep your shoulders down. Hold 30 seconds. Switch sides.
Beginner modification: Bend your bottom leg if your back lifts off the floor. Or keep your lifted leg slightly bent at the knee.
Safety tip: Don’t yank on the strap. Use gentle, steady tension. Your hips should stay level on the floor.
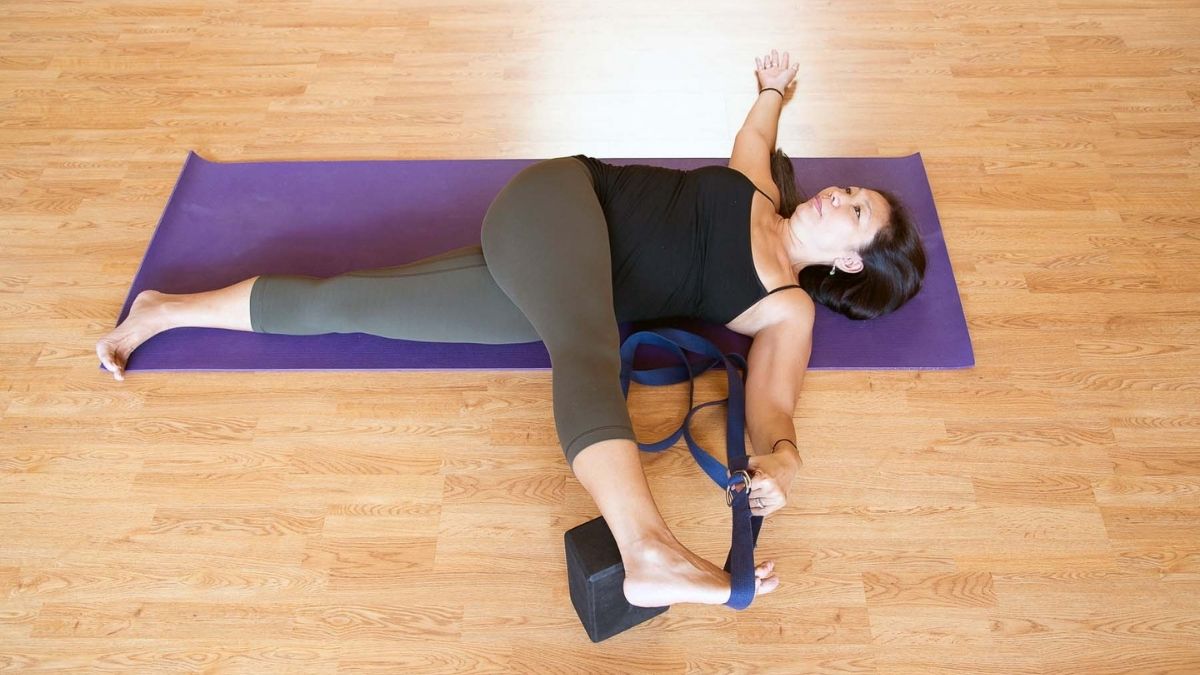
9. Reclining Hand to Big Toe II (Supta Padangusthasana II)
Strengthens: Upper thigh bone, hip joint, pubic bone, ribs, and spine.
Opening your leg to the side creates sideways pressure on your hip and femur. This targets areas that walking never reaches.
How to do it: From the previous pose, open your right leg out to the right side. Keep holding the strap. Keep your left hip grounded. Hold 30 seconds. Switch sides.
Beginner modification: Place a block under your outer thigh for support. Or don’t lower your leg all the way to the side—stay higher.
Safety tip: Your opposite hip wants to lift. Press it firmly into the floor. That’s where the bone-building pressure comes from.
10. Straight-Legged Twist (Marichyasana III)
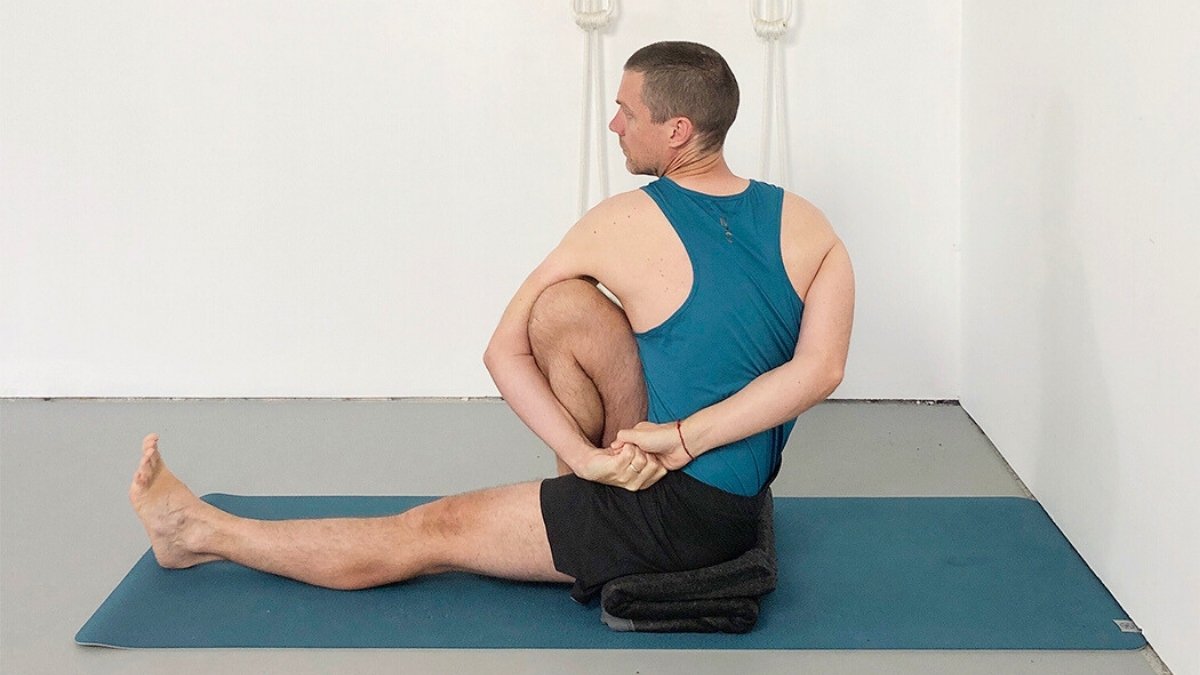
Strengthens: Your sitting bones, pelvis, and spine.
Sitting twists create rotation pressure through your entire spine and pelvis. This builds bone in your vertebrae.
How to do it: Sit with legs straight. Bend your right knee and place your right foot outside your left thigh. Place your right hand behind you. Hug your right knee with your left arm. Twist to the right. Hold 30 seconds. Switch sides.
Beginner modification: Keep both legs straight and just twist your upper body. Or sit on a folded blanket to help your spine stay tall.
Safety tip: Sit up tall before you twist. Don’t round your back. A small twist with a straight spine beats a big twist with a curved back.
11. Cobra Pose (Bhujangasana)
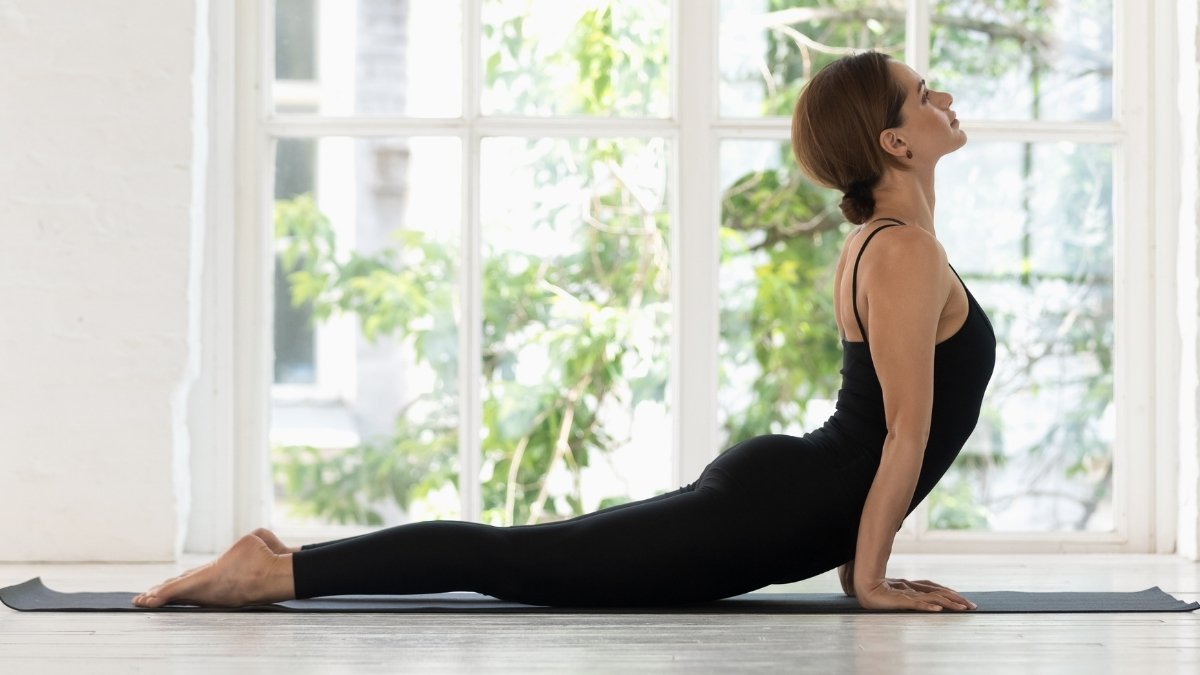
Strengthens: Your entire spine, shoulders, and arms.
This backbend creates pressure along your whole spine. Your arms also get weight-bearing work.
How to do it: Lie face-down. Place your hands under your shoulders. Press your palms down and lift your chest. Keep your elbows slightly bent. Look slightly forward. Hold 30 seconds.
Beginner modification: Keep your elbows on the floor (Sphinx Pose). This is gentler on your back but still effective.
Safety tip: Lift using your back muscles, not just pushing with your arms. Keep your shoulders away from your ears.
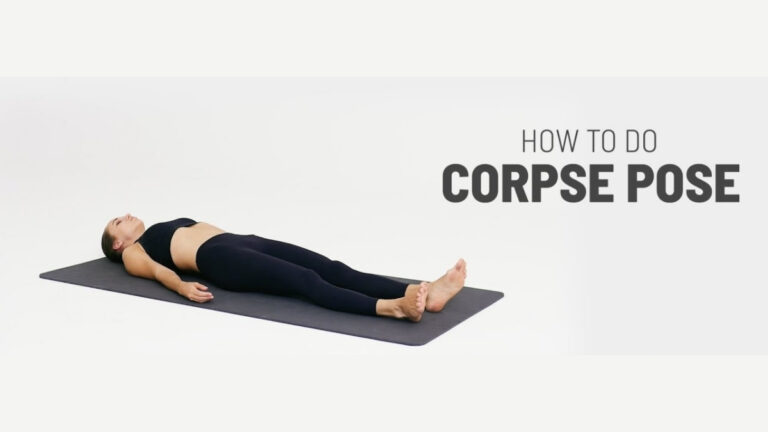
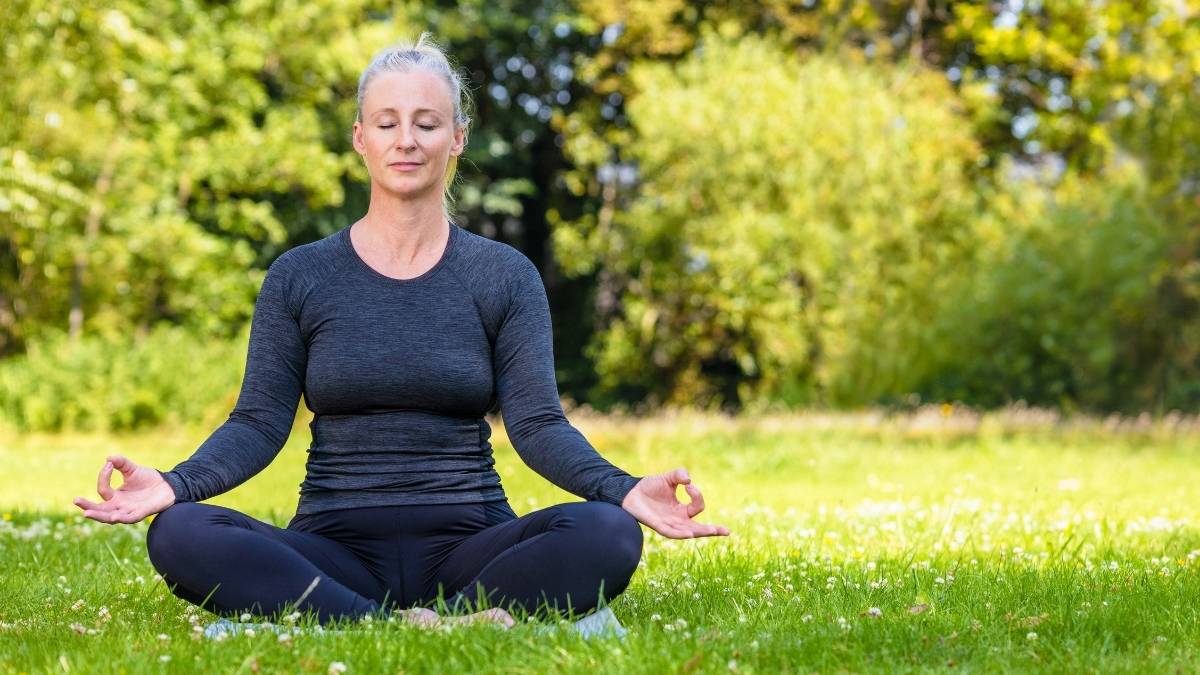
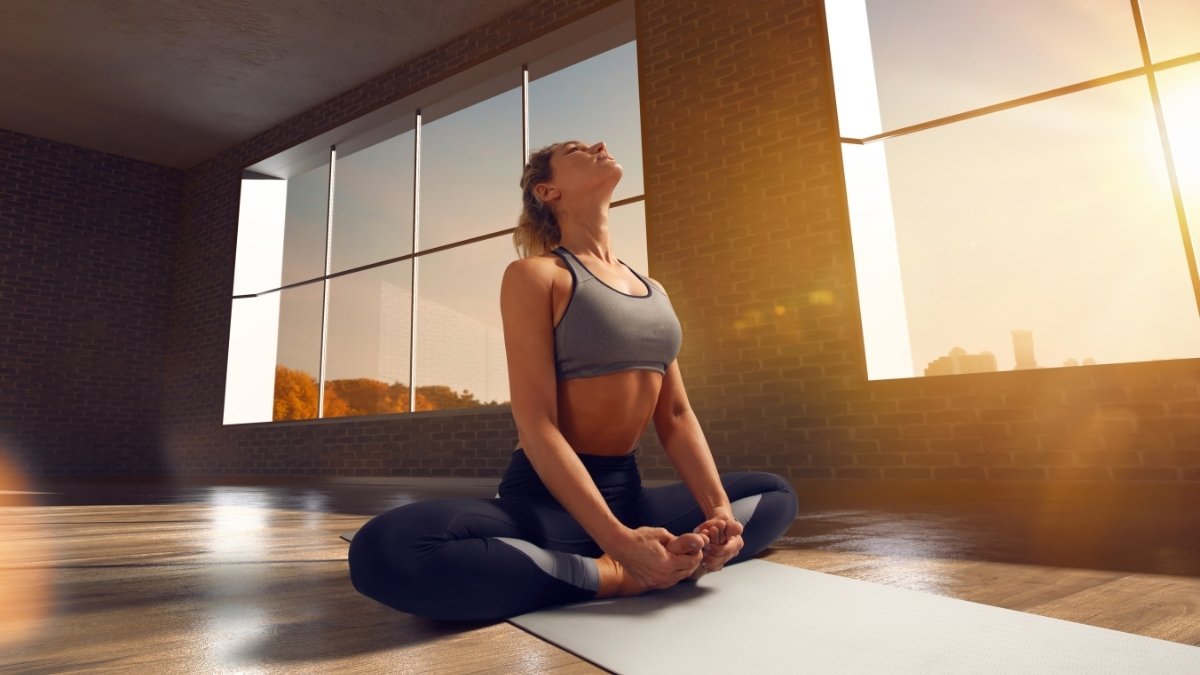
12. Corpse Pose (Savasana)
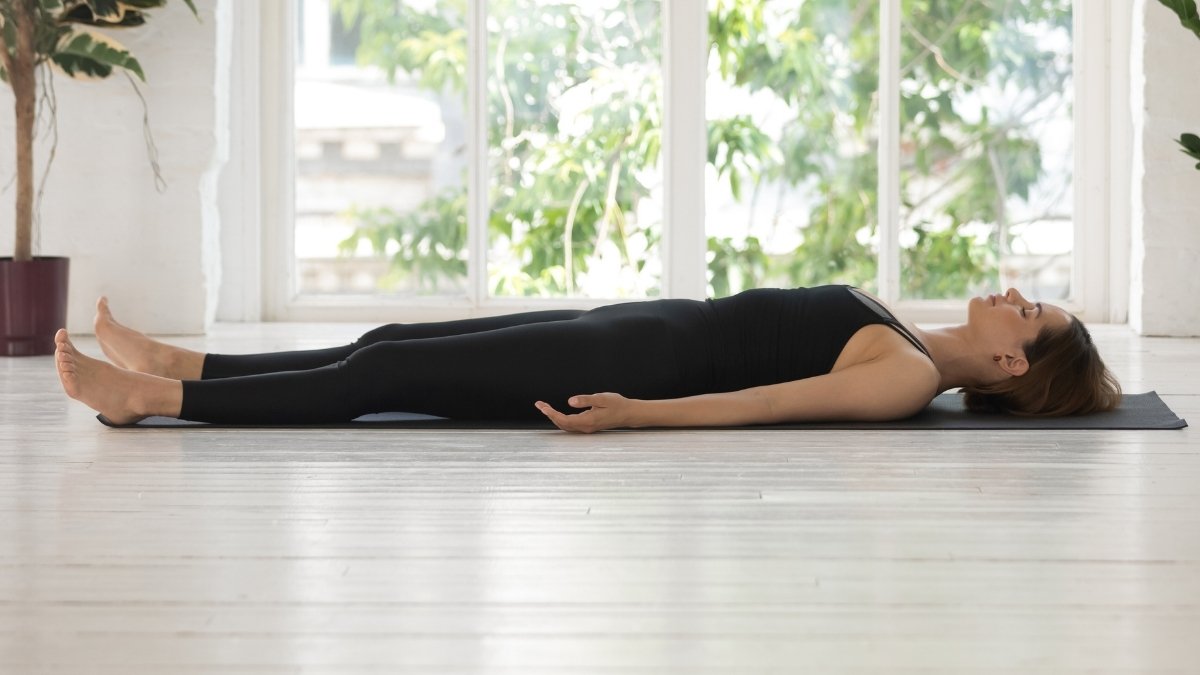
Strengthens: Nothing—and that’s the point.
This rest pose lowers your stress hormone (cortisol). High cortisol breaks down bone. Relaxation protects the bone you just worked to build.
How to do it: Lie on your back. Let your feet fall open. Place your arms alongside your body, palms up. Close your eyes. Breathe naturally for 2-5 minutes.
Beginner modification: Place a folded blanket under your head. Put a bolster under your knees if your back feels tight.
Safety tip: Don’t skip this pose. Recovery is when your body actually builds new bone. This rest period matters as much as the active poses.
Getting Started: Your Step-by-Step Action Plan
You’re ready to start. But don’t just roll out your mat tomorrow morning. Follow these five steps to begin safely.
Step 1: Get a DEXA scan.

This bone density test shows exactly where you stand right now. Your doctor orders it. The scan takes 10 minutes. You’ll get a T-score that tells you if you have normal bones, osteopenia (low bone density), or osteoporosis. This baseline number matters—it’s how you’ll measure your progress in 12-18 months.
Step 2: Find the right instructor.
Look for Iyengar-trained yoga teachers. They focus on precise alignment and use props. This style was designed for bodies that need modifications. Ask potential instructors: “Have you worked with students who have osteoporosis?” If they say no or look confused, keep looking. A certified yoga therapist is even better for your first few months.
Step 3: Start with modifications.

Don’t try the full classical version of each pose on day one. Begin with the elementary version using a wall, chair, or blocks. Your instructor should show you three levels: beginner, intermediate, and full pose. Stay at the beginner level for at least two weeks. Progress when a pose feels stable, not when you’re still wobbling.
Step 4: Track your practice.
Keep a simple log. Write the date and check off which poses you did. This accountability keeps you consistent. The research shows that people who tracked their practice stuck with it longer. You can use a notebook, your phone, or a calendar on your fridge.
Step 5: Be patient with progression.
Safe progression means adding one new challenge at a time. Maybe you hold the pose five seconds longer. Or you use a lower block. Or you move your hand from the chair to your shin. Small changes add up. Your bones are rebuilding—they just do it slowly.
Beyond the Mat: Supporting Your Bone Health
Yoga works best when you support it with the right nutrition and lifestyle choices. Think of bone health as a three-legged stool. Yoga is one leg. Here are the other two.
Nutrition essentials.

Women over 50 need 1,200 mg of calcium daily. That’s about four servings of dairy or fortified foods. You also need 800-1,000 IU of vitamin D. Most people don’t get enough from food alone, so a supplement helps. And here’s what many women miss: protein. You need about 1-1.2 grams per kilogram of body weight. Protein gives your body the building blocks to make new bone.
Lifestyle factors that hurt your bones.

Smoking cuts blood flow to your bones. Each cigarette you skip helps. Alcohol in excess (more than one drink daily) interferes with calcium absorption. If you drink, keep it moderate.
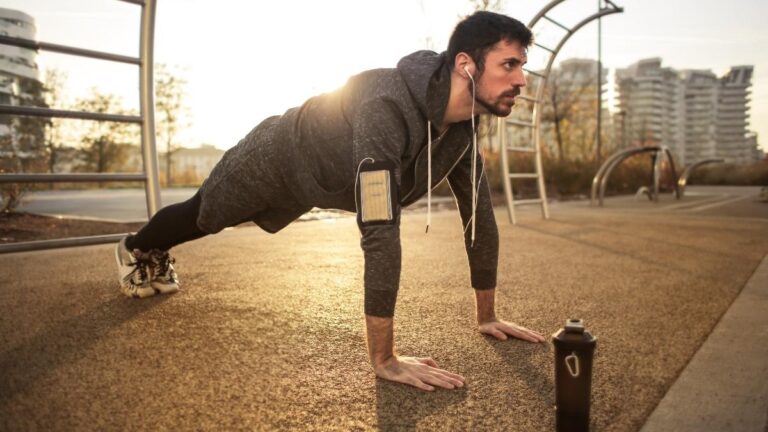
Add strength training.
Yoga alone is powerful, but combining it with resistance training gives you even better results. Studies show that high-intensity resistance training safely improves bone density in your lumbar spine. Lift weights twice a week. Focus on your back, hips, and legs—the fracture-prone zones.
Fall prevention matters just as much.
Strong bones won’t help if you fall and break them. Yoga improves your balance, which cuts your fall risk. But also look around your home. Remove throw rugs. Add grab bars in the bathroom. Keep hallways well-lit. These simple changes prevent the falls that cause fractures.
When to consider medication.

If your T-score is very low (below -2.5), talk to your doctor about bone-building drugs. Medication and yoga aren’t either-or choices. They work together. The drugs slow bone loss while yoga builds new bone. Some women need both.
Strengthen Your Bones Starting Today
Nearly 20% of women over 50 have osteoporosis right now. But you can fight back with just 12 minutes a day. These bone-strengthening yoga poses for women over 50 work—the research proves it.

Safety comes first. Avoid deep forward bends and extreme twists. Start slowly. Consistency beats perfection every time. Practice every other day, and you’ll improve bone density naturally while also gaining better balance and strength.
Your next steps: Schedule a DEXA scan this week. Bookmark this 12-pose sequence. Find an Iyengar-trained instructor near you. If 12 poses feels like too much, start with just three. You can always add more later.
Osteoporosis prevention starts with action, not someday. Your bones are waiting.